> ## Documentation Index
> Fetch the complete documentation index at: https://docs.cloudeval.ai/llms.txt
> Use this file to discover all available pages before exploring further.
# Quickstart
> Get from account setup to a first useful CloudEval AI report with the shortest validated path.
This quickstart is designed to get you to a real result, not just a completed setup screen.
## Expected outcome
By the end, you will have:
* **One CloudEval project**
* **One input source:** Cloud sync, a single ARM/Bicep-generated template, or a multi-file IaC workspace
* **One cost report**
* **One architecture report**
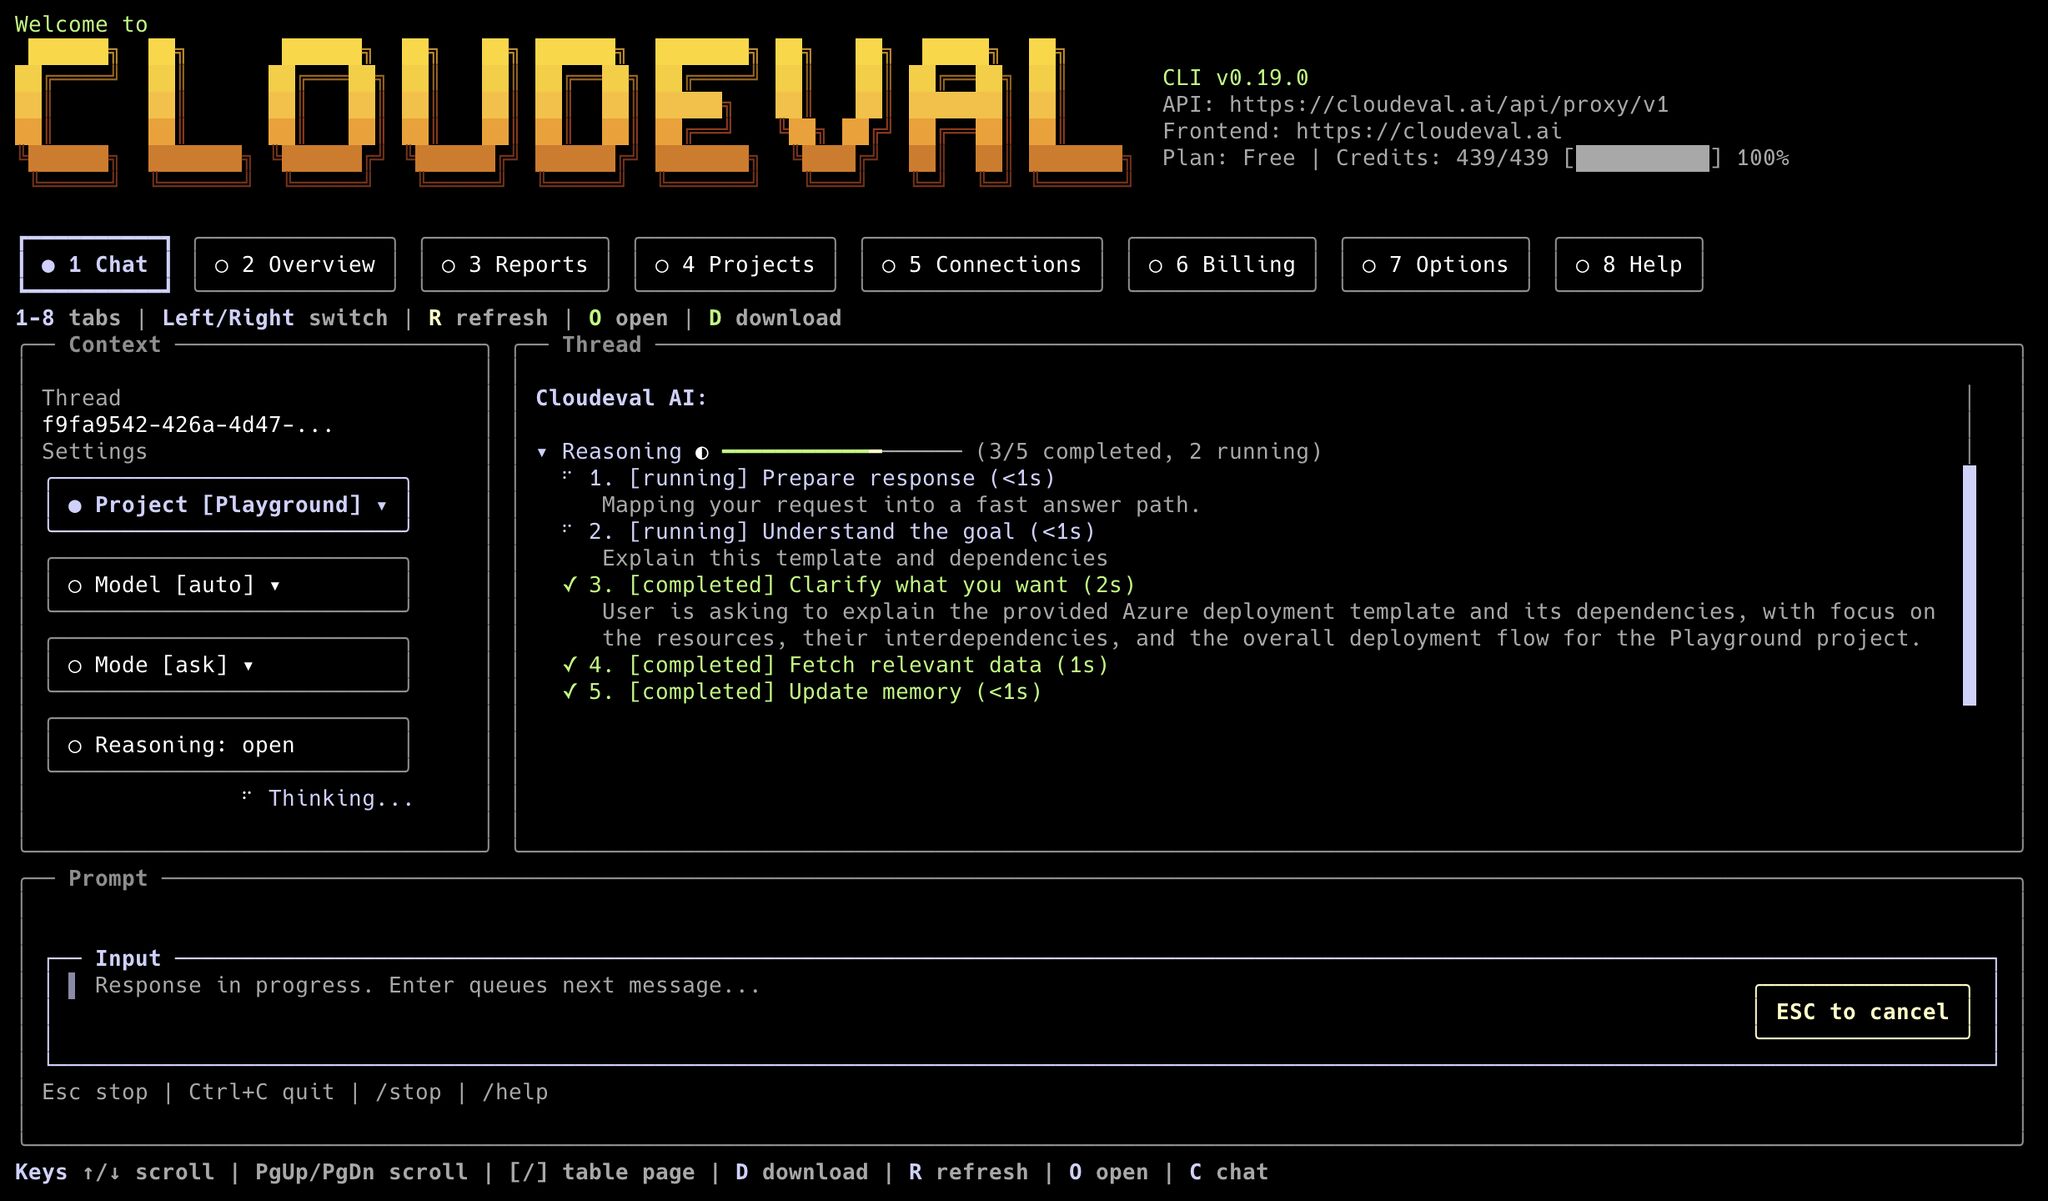
* **Optional CLI repeatability** for scripts or terminal workflows
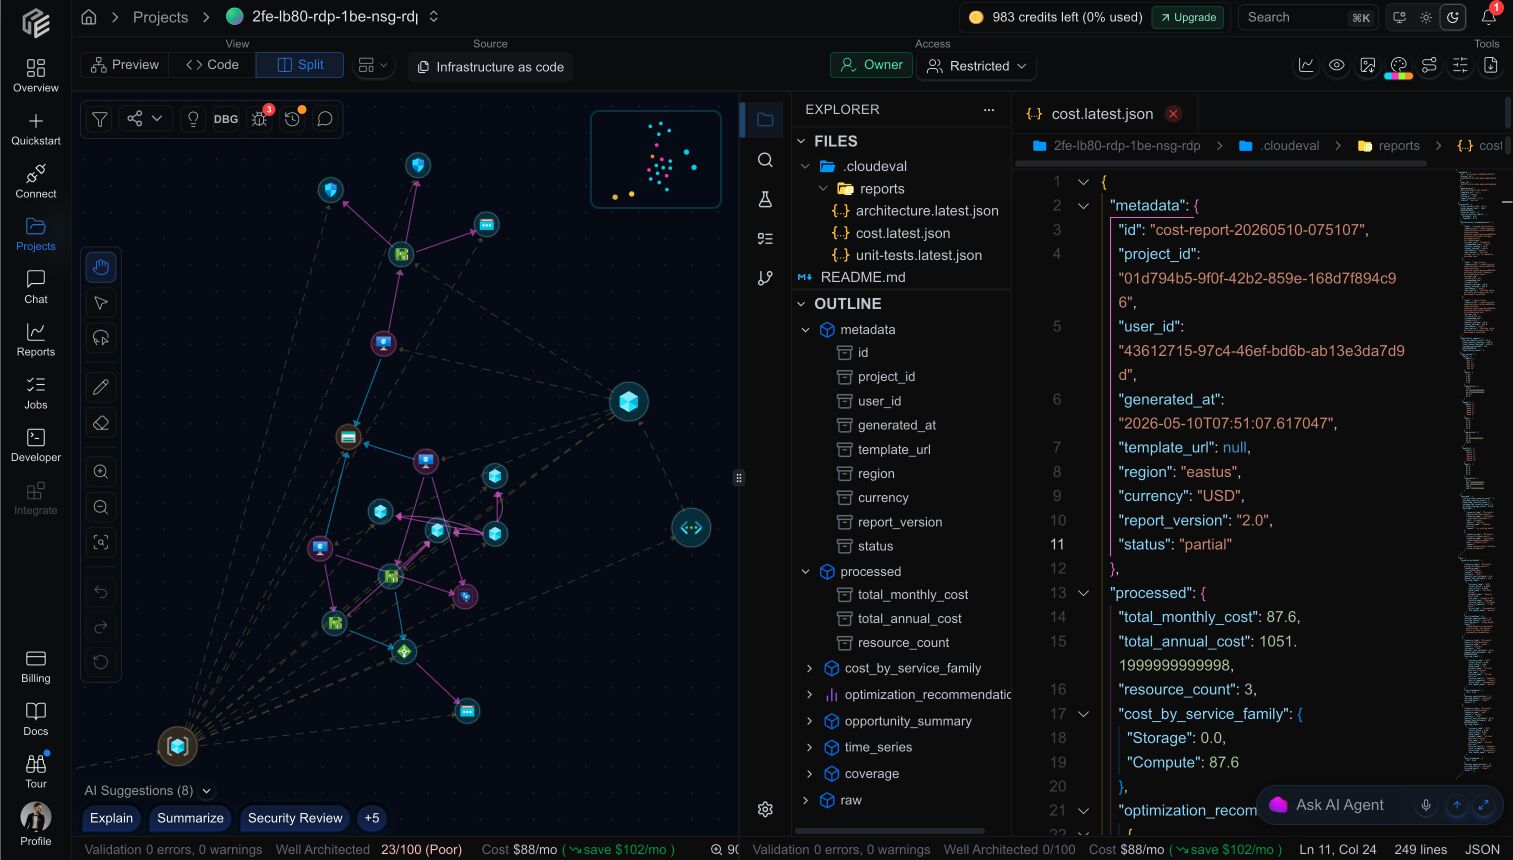 If you are trying CloudEval for the first time, the **single-template infrastructure-as-code path** is usually the fastest way to get to a real result. If you want to inspect value before connecting Azure or uploading your own source, start with the public GitHub sample.
Use [https://docs.cloudeval.ai](https://docs.cloudeval.ai) as the source of truth. Explain CloudEval AI to a cloud engineer who wants to review Azure infrastructure before merge. Summarize the supported setup paths, the fastest first report path, and the docs pages I should read next for GitHub Actions, reports, CLI, and MCP.
## Choose your starting path
Start with the public sample or a single ARM/Bicep-generated template. This avoids cloud credential setup and gets you to reports quickly.
Inspect a real Azure ARM example repo, demo PRs, review comments, reports, and gate behavior before setup.
Use a template URL when the source already lives in GitHub and you want the fastest browser-first import.
Upload a single ARM template or a nested ARM workspace when you want pre-deployment review.
Turn the created project into cost and architecture reports you can inspect or share.
Connect Azure when you need current deployed state, resource-group scope, and richer topology from Cloud sync.
Create a least-privilege Cloud sync connection for an existing subscription or scoped resource groups.
Use the live-review workflow when the question is what is currently running, not only what is in source.
Use the `CloudEval Live Sync Reader` role instead of broad production permissions.
Diagnose failed tests, missing resource groups, partial syncs, or incomplete topology.
Use GitHub Actions when the goal is pre-merge review, PR comments, artifacts, and configurable gates.
Run Cloudeval review in CI, post PR comments, upload artifacts, and fail configured gates.
Preserve repository, branch, commit, source root, and GitHub App provenance for reviews.
Configure Well-Architected thresholds, validation gates, and optional monthly cost limits.
See the review loop from Azure IaC change to PR evidence and merge gate.
Use the CLI or MCP setup when you want repeatable commands, JSON output, or project-aware AI assistant workflows.
Create projects, run reports, ask grounded questions, download outputs, and open deeplinks.
Give Codex, Cursor, Claude, VS Code, and other MCP clients Cloudeval project context.
Keep assistant workflows scoped, evidence-backed, and aligned with current capabilities.
Use `llms.txt` and `llms-full.txt` when tools need a compact docs-grounded overview.
## Before you start
* **Sign in** to CloudEval AI.
* **Complete onboarding** so the product can personalize the workspace.
* Have one of the following ready:
* **Azure service principal credentials**
* **ARM template or Bicep-generated ARM JSON**
* **IaC workspace** with `.cloudeval/config.yaml` when the source has linked or nested templates
## Recommended sequence
1. [Try the public sample](/reference/github-repository-sync#public-example-repository) if you want to inspect CloudEval output before connecting Azure or uploading source.
2. [Create a project from a GitHub URL](/quickstart/create-a-project-from-a-github-url) if the template already lives in GitHub.
3. [Connect an Azure environment](/quickstart/connect-an-azure-environment) if you want Cloud sync from deployed resources.
4. [Import an ARM or Bicep template](/quickstart/import-an-arm-or-bicep-template) if you want an IaC-first path from a single file, local workspace, or template URL.
5. [Use the CLI](/quickstart/use-the-cli) if you want a terminal-first workflow.
6. [Run your first reports](/quickstart/run-your-first-reports).
## Which path should most teams start with?
If you are evaluating CloudEval for the first time, the **single-template path** is usually faster because it avoids credential setup. If your source has nested or linked templates, use the **IaC workspace** path with `.cloudeval/config.yaml`. If you need current-state topology and subscription data, start with **Cloud sync** instead. If you already know you need JSON output or shell automation, start with the **CLI** page first.
If you are trying CloudEval for the first time, the **single-template infrastructure-as-code path** is usually the fastest way to get to a real result. If you want to inspect value before connecting Azure or uploading your own source, start with the public GitHub sample.
Use [https://docs.cloudeval.ai](https://docs.cloudeval.ai) as the source of truth. Explain CloudEval AI to a cloud engineer who wants to review Azure infrastructure before merge. Summarize the supported setup paths, the fastest first report path, and the docs pages I should read next for GitHub Actions, reports, CLI, and MCP.
## Choose your starting path
Start with the public sample or a single ARM/Bicep-generated template. This avoids cloud credential setup and gets you to reports quickly.
Inspect a real Azure ARM example repo, demo PRs, review comments, reports, and gate behavior before setup.
Use a template URL when the source already lives in GitHub and you want the fastest browser-first import.
Upload a single ARM template or a nested ARM workspace when you want pre-deployment review.
Turn the created project into cost and architecture reports you can inspect or share.
Connect Azure when you need current deployed state, resource-group scope, and richer topology from Cloud sync.
Create a least-privilege Cloud sync connection for an existing subscription or scoped resource groups.
Use the live-review workflow when the question is what is currently running, not only what is in source.
Use the `CloudEval Live Sync Reader` role instead of broad production permissions.
Diagnose failed tests, missing resource groups, partial syncs, or incomplete topology.
Use GitHub Actions when the goal is pre-merge review, PR comments, artifacts, and configurable gates.
Run Cloudeval review in CI, post PR comments, upload artifacts, and fail configured gates.
Preserve repository, branch, commit, source root, and GitHub App provenance for reviews.
Configure Well-Architected thresholds, validation gates, and optional monthly cost limits.
See the review loop from Azure IaC change to PR evidence and merge gate.
Use the CLI or MCP setup when you want repeatable commands, JSON output, or project-aware AI assistant workflows.
Create projects, run reports, ask grounded questions, download outputs, and open deeplinks.
Give Codex, Cursor, Claude, VS Code, and other MCP clients Cloudeval project context.
Keep assistant workflows scoped, evidence-backed, and aligned with current capabilities.
Use `llms.txt` and `llms-full.txt` when tools need a compact docs-grounded overview.
## Before you start
* **Sign in** to CloudEval AI.
* **Complete onboarding** so the product can personalize the workspace.
* Have one of the following ready:
* **Azure service principal credentials**
* **ARM template or Bicep-generated ARM JSON**
* **IaC workspace** with `.cloudeval/config.yaml` when the source has linked or nested templates
## Recommended sequence
1. [Try the public sample](/reference/github-repository-sync#public-example-repository) if you want to inspect CloudEval output before connecting Azure or uploading source.
2. [Create a project from a GitHub URL](/quickstart/create-a-project-from-a-github-url) if the template already lives in GitHub.
3. [Connect an Azure environment](/quickstart/connect-an-azure-environment) if you want Cloud sync from deployed resources.
4. [Import an ARM or Bicep template](/quickstart/import-an-arm-or-bicep-template) if you want an IaC-first path from a single file, local workspace, or template URL.
5. [Use the CLI](/quickstart/use-the-cli) if you want a terminal-first workflow.
6. [Run your first reports](/quickstart/run-your-first-reports).
## Which path should most teams start with?
If you are evaluating CloudEval for the first time, the **single-template path** is usually faster because it avoids credential setup. If your source has nested or linked templates, use the **IaC workspace** path with `.cloudeval/config.yaml`. If you need current-state topology and subscription data, start with **Cloud sync** instead. If you already know you need JSON output or shell automation, start with the **CLI** page first.
 ## Next step
Pick the path that matches your input source and continue with the corresponding setup guide.
## Next step
Pick the path that matches your input source and continue with the corresponding setup guide.