This is the fastest path if you want CloudEval in a terminal, CI job, or internal automation.
When this path fits
Use the CLI when you want to:
- Create or inspect projects without living in the browser
- Run reports and capture machine-readable output
- Ask one grounded question in a script
- Open exact app pages for projects, reports, or billing views
If you mainly need visual diagram review or sharing, the web app is still the better primary surface.
Use the CLI in six steps
Install the CLI
Install the npm package on Node.js 20+ machines:npm install -g @ganakailabs/cloudeval-cli
curl -fsSL https://cli.cloudeval.ai/install.sh | bash
irm https://cli.cloudeval.ai/install.ps1 | iex
bash, zsh, or fish). To skip that step, run
CLOUDEVAL_INSTALL_COMPLETION=0 curl -fsSL https://cli.cloudeval.ai/install.sh | bash.CloudEval ships these command names:Verify the install:cloudeval --version
eva --version
Configure a profile
Store local defaults for the CloudEval service, app, default project, and model.
Profiles are useful for agents, CI jobs, and machines that work with more
than one environment.cloudeval setup \
--non-interactive \
--profile quickstart \
--model gpt-5-nano \
--format json
cloudeval config show --profile quickstart --format json
cloudeval status --profile quickstart --format json
cloudeval doctor --profile quickstart --format json
Enable shell completion
Print the completion script for your shell:cloudeval completion bash
cloudeval completion zsh
cloudeval completion fish
cloudeval completion powershell
cloudeval completion install --shell bash
cloudeval completion install --shell zsh
cloudeval completion install --shell fish
cloudeval completion install --shell powershell
cloudeval completion uninstall --shell bash
cloudeval completion uninstall --shell zsh
cloudeval completion uninstall --shell fish
cloudeval completion uninstall --shell powershell
Sign in
Choose the login mode based on where the CLI is running. Workstation
Headless or SSH
Use normal browser login when you are running the CLI on your own laptop
or desktop and the terminal can open a browser on the same machine.cloudeval login
cloudeval auth status
Use headless login when the CLI is running somewhere that cannot open a
usable browser window, such as an SSH session, remote server, container,
or CI-like terminal.The command prints a browser URL and device code. Open that URL in any
browser, approve the session, then return to the terminal.cloudeval login --headless
cloudeval auth status
Create a project
If your source of truth is Bicep, compile it to ARM JSON first. The CLI’s strongest IaC import path today is ARM JSON.
Local ARM JSON
GitHub URL
IaC workspace
Cloud sync
Download an Azure Quickstart template, then create a project from the
local file:curl -fsSL \
https://raw.githubusercontent.com/Azure/azure-quickstart-templates/master/quickstarts/microsoft.compute/1vm-2nics-2subnets-1vnet/azuredeploy.json \
-o ./azuredeploy.json
cloudeval projects create \
--template-file ./azuredeploy.json \
--name "Azure quickstart import" \
--provider azure \
--profile quickstart \
--format json \
--output ./cloudeval-project.json
Create a project directly from the Azure Quickstart repository URL:cloudeval projects create \
--template-url https://github.com/Azure/azure-quickstart-templates/blob/master/quickstarts/microsoft.compute/1vm-2nics-2subnets-1vnet/azuredeploy.json \
--name "Azure quickstart import" \
--provider azure \
--profile quickstart \
--format json \
--output ./cloudeval-project.json
Create a project from a folder that contains the visualization source,
linked ARM templates, parameters, and optional .cloudeval/config.yaml:cloudeval projects create \
--workspace-dir ./infra \
--workspace-entry azuredeploy.json \
--name "Nested ARM workspace" \
--provider azure \
--profile quickstart \
--format json \
--output ./cloudeval-project.json
.cloudeval/config.yaml is missing, the CLI creates one using the
selected entry and detected parameters file. Create a Cloud sync project from a least-privilege Azure service
principal and one or more resource-group scopes:cloudeval projects create \
--cloud-sync \
--azure-tenant-id "$AZURE_TENANT_ID" \
--azure-client-id "$AZURE_CLIENT_ID" \
--azure-client-secret "$AZURE_CLIENT_SECRET" \
--azure-subscription-id "$AZURE_SUBSCRIPTION_ID" \
--resource-group rg-app \
--resource-group rg-network \
--name "Production Cloud sync" \
--profile quickstart \
--format json \
--output ./cloudeval-project.json
PROJECT_ID=$(jq -r '.data.project.id' ./cloudeval-project.json)
CONNECTION_ID=$(jq -r '.data.connection.id' ./cloudeval-project.json)
cloudeval projects get "$PROJECT_ID" --profile quickstart --format json
cloudeval connections get "$CONNECTION_ID" --profile quickstart --format json
cloudeval projects create supports four creation sources:
--template-file, --template-url, --workspace-dir, and
--cloud-sync. Use exactly one source per command.
Run reports
cloudeval reports run \
--project "$PROJECT_ID" \
--type all \
--wait \
--profile quickstart \
--format json
cloudeval reports cost \
--project "$PROJECT_ID" \
--profile quickstart \
--format markdown
cloudeval reports waf \
--project "$PROJECT_ID" \
--profile quickstart \
--format markdown
cloudeval reports download \
--project "$PROJECT_ID" \
--type all \
--view parsed \
--output ./reports \
--profile quickstart \
--format json \
--non-interactive
.cloudeval/config.yaml. For Cloud sync projects,
they use the latest synced Azure snapshot.Open the project or ask a question
Open the diagram:cloudeval open project "$PROJECT_ID" \
--view preview \
--layout architecture \
--print-url \
--no-open
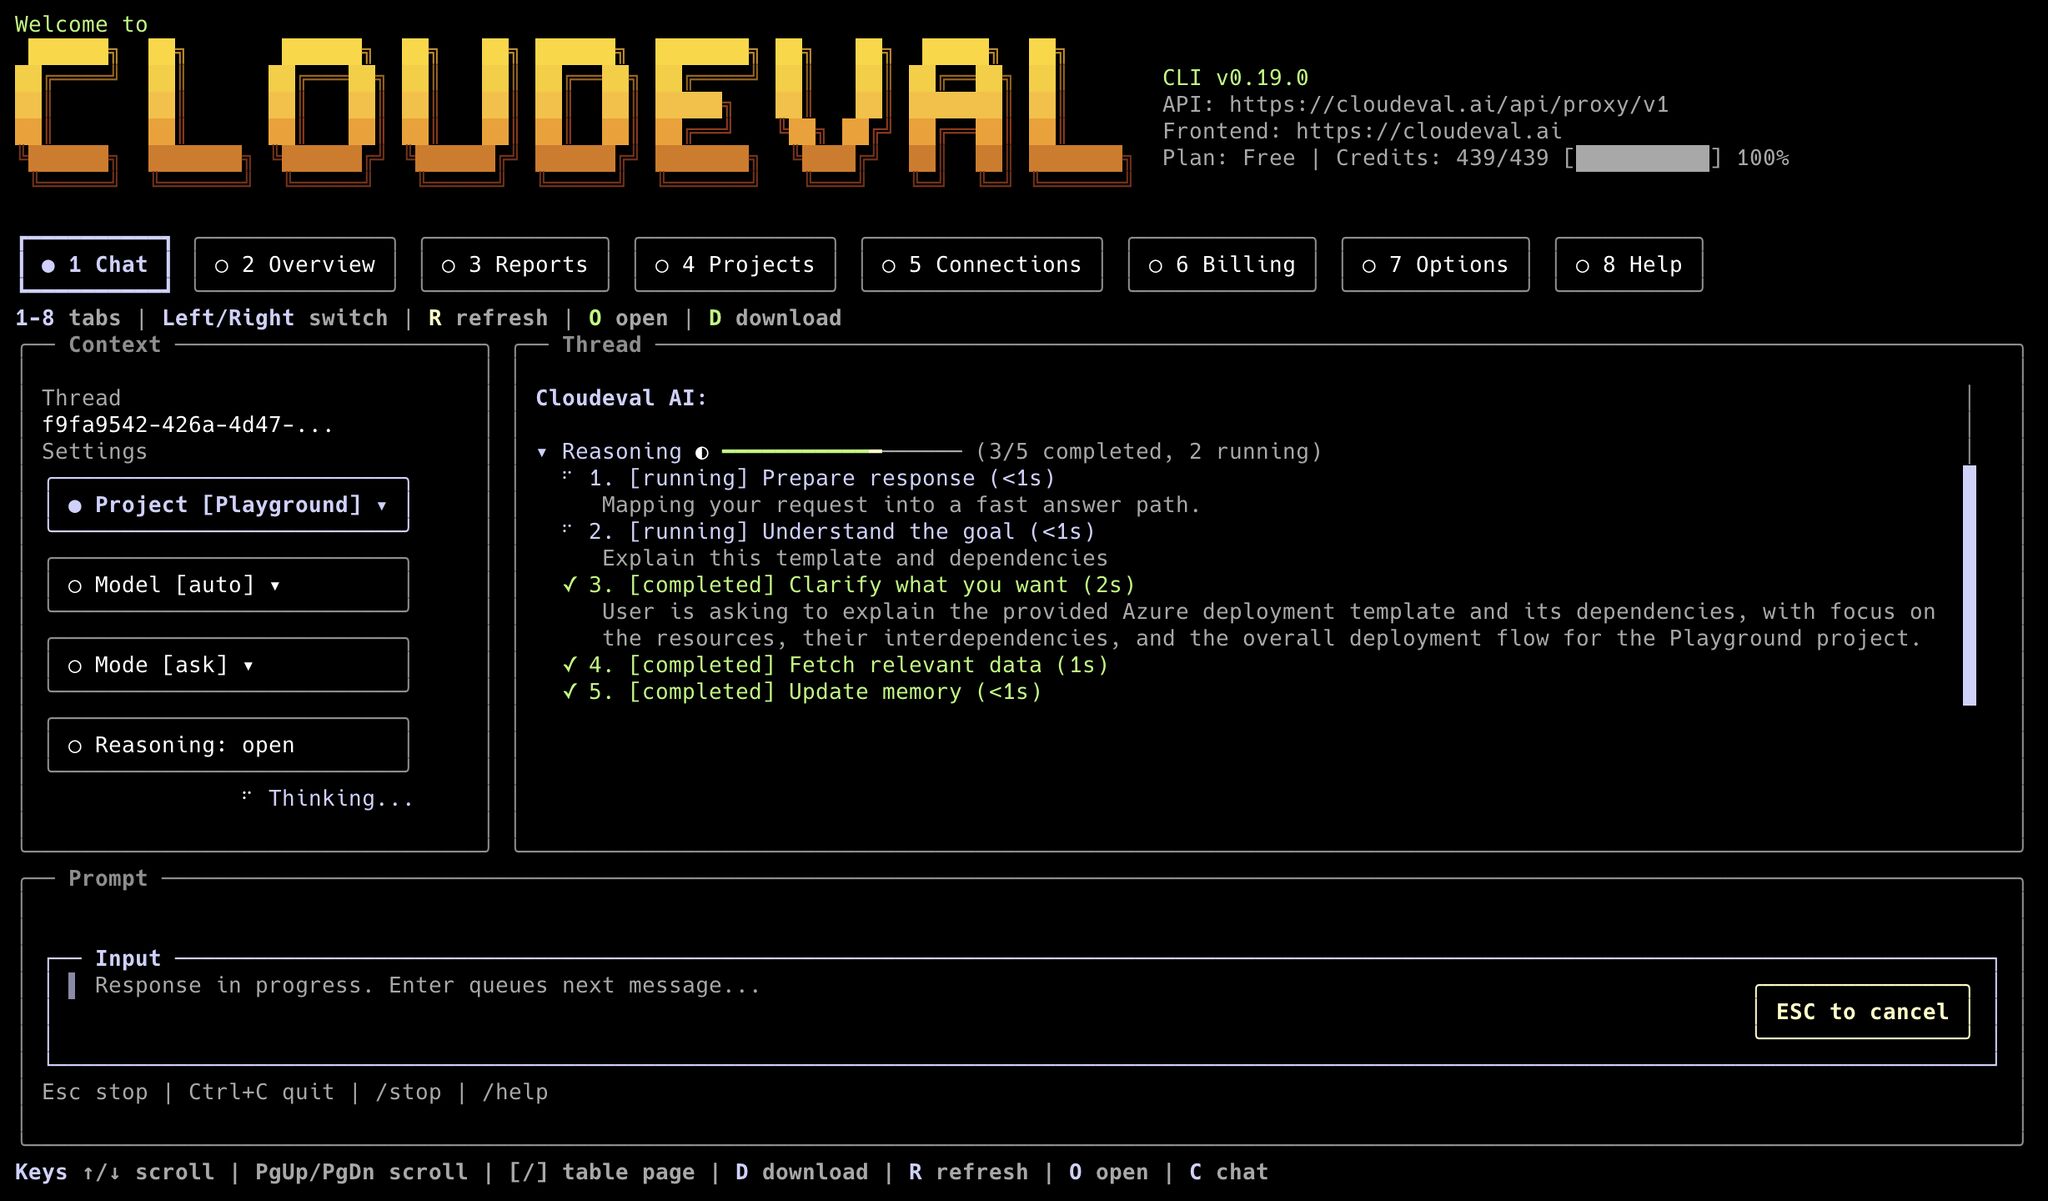
cloudeval ask "Summarize the top cost and architecture risks in this project" \
--project "$PROJECT_ID" \
--profile quickstart \
--format json \
--non-interactive
ask when you want one answer back. Use chat when you want an ongoing interactive session. CLI examples for workspace and Cloud sync projects
Nested ARM workspace
cloudeval projects create \
  --workspace-dir ./infra \
  --workspace-entry azuredeploy.json \
  --name "Nested ARM workspace" \
  --provider azure \
  --profile quickstart \
  --format json \
  --output ./cloudeval-project.json
PROJECT_ID=$(jq -r '.data.project.id' ./cloudeval-project.json)
cloudeval projects get "$PROJECT_ID" \
--profile quickstart \
--format json
cloudeval projects graph "$PROJECT_ID" \
--profile quickstart \
--format json \
--non-interactive
cloudeval reports run \
  --project "$PROJECT_ID" \
  --type all \
  --wait \
  --profile quickstart \
  --format json
cloudeval reports download \
--project "$PROJECT_ID" \
--type all \
--view parsed \
--output ./cloudeval-reports \
--profile quickstart \
--format json \
--non-interactive
cloudeval validate template \
--template-file ./azuredeploy.json \
--parameters-file ./azuredeploy.parameters.json \
--details \
--wait \
--profile quickstart \
--format json \
--non-interactive
Cloud sync project
cloudeval projects create \
--cloud-sync \
--azure-tenant-id "$AZURE_TENANT_ID" \
--azure-client-id "$AZURE_CLIENT_ID" \
--azure-client-secret "$AZURE_CLIENT_SECRET" \
--azure-subscription-id "$AZURE_SUBSCRIPTION_ID" \
--resource-group rg-app \
--name "Production Cloud sync" \
--profile quickstart \
--format json \
--output ./cloudeval-project.json
PROJECT_ID=$(jq -r '.data.project.id' ./cloudeval-project.json)
cloudeval projects get "$PROJECT_ID" \
--profile quickstart \
--format json
cloudeval projects graph sync-runs "$PROJECT_ID" \
--profile quickstart \
--format json \
--non-interactive
cloudeval reports run \
--project "$PROJECT_ID" \
--type all \
--wait \
--profile quickstart \
--format json
cloudeval reports cost \
  --project "$PROJECT_ID" \
  --profile quickstart \
  --format markdown
cloudeval reports waf \
  --project "$PROJECT_ID" \
  --profile quickstart \
  --format markdown
Inspect models and sessions
List CloudEval-supported models and set a default:
cloudeval models list --profile quickstart --format json
cloudeval models default set gpt-5-nano --profile quickstart --format json
ask run, inspect local session history:
cloudeval sessions list --profile quickstart --format json
cloudeval sessions get <thread-id> --profile quickstart --format json
cloudeval sessions search "cost risk" --profile quickstart --format json
cloudeval sessions rename <thread-id> "Cost and architecture review" --profile quickstart --format json
cloudeval chat --resume "Cost and architecture review" --profile quickstart
cloudeval ask "What changed since the previous report?" \
  --thread <thread-id> \
  --project "$PROJECT_ID" \
  --profile quickstart \
  --format json \
  --non-interactive
Run CloudEval as an MCP server
If your agent framework already supports MCP, you can expose CloudEval as a
local tool server instead of calling one CLI command at a time.
cloudeval mcp status --format json
cloudeval doctor --mcp --format json
codex mcp add cloudeval -- cloudeval mcp serve
cloudeval mcp setup codex --dry-run
cloudeval mcp setup claude --dry-run
cloudeval mcp setup cursor --dry-run
cloudeval mcp setup generic --dry-run --toolset readonly --format json
cloudeval mcp serve --toolset readonly
cloudeval mcp serve --toolset reports
cloudeval mcp serve --toolset billing
{
  "mcpServers": {
    "cloudeval": {
      "command": "cloudeval",
      "args": ["mcp", "serve"]
    }
  }
}
cloudeval login auth, stored cloudeval login --headless auth,
or --machine. Run login before starting mcp serve; stdin is reserved for
MCP protocol messages.
MCP clients that support richer discovery can also see CloudEval resources and
prompt templates for capabilities, projects, billing summaries, report review,
cost review, architecture review, and billing review.
Safe defaults for automation
- Run
cloudeval capabilities --format json before relying on command names in automation.
- Run
cloudeval doctor --format json before relying on a local install in automation.
- Run
cloudeval doctor --mcp --format json before relying on MCP setup.
- Prefer
--format json for scripts.
- Prefer
--non-interactive in CI or agent workflows.
- Prefer
--profile <name> when multiple agents or environments share one machine.
- Prefer
--print-url --no-open when a command can generate a CloudEval app link.
- Use
cloudeval login --headless when you are not on a workstation with a usable browser.
- Use
--machine only when service-principal machine authentication is configured.
Next step
Use CLI overview for the command model, CLI command reference for the current surface area, or Automate evaluations with the CLI for repeatable workflows. Last modified on June 23, 2026