
Expected outcome
By the end, you will have:- One CloudEval project
- One input source: Cloud sync, a single ARM/Bicep-generated template, or a multi-file IaC workspace
- One cost report
- One architecture report
- Optional CLI repeatability for scripts or terminal workflows
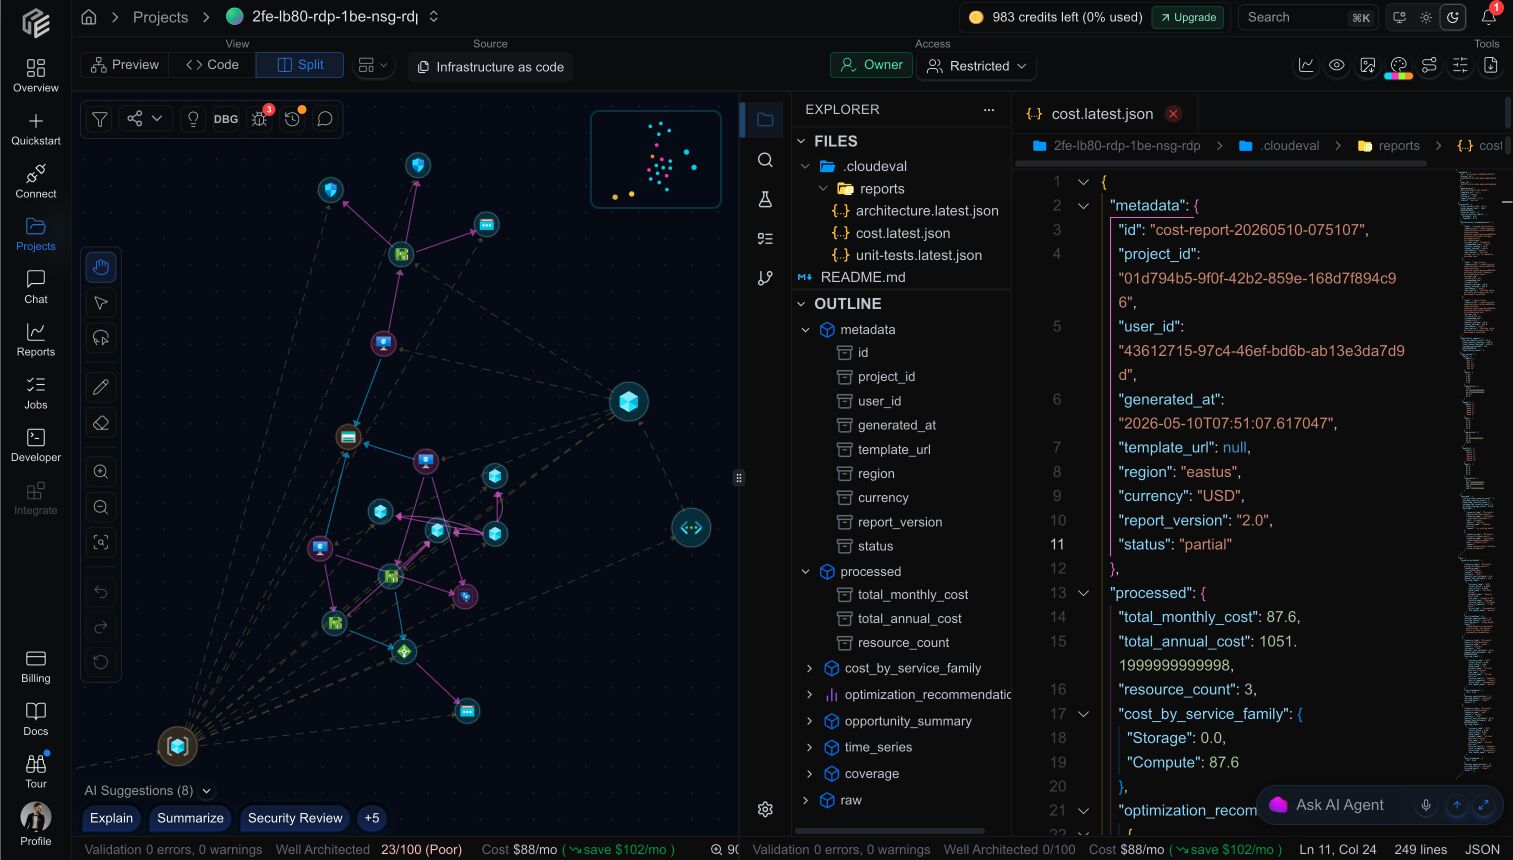
A first project can move from graph preview to source code, report JSON, and AI assistance without leaving the workspace.
If you are trying CloudEval for the first time, the single-template infrastructure-as-code path is usually the fastest way to get to a real result. If you want to inspect value before connecting Azure or uploading your own source, start with the public GitHub sample.
Ask an AI assistant to explain CloudEval from the docs.
Choose your starting path
- Fast evaluation
- Live Azure review
- Pull requests
- Agents and CLI
Start with the public sample or a single ARM/Bicep-generated template. This avoids cloud credential setup and gets you to reports quickly.
Try the public sample
Inspect a real Azure ARM example repo, demo PRs, review comments, reports, and gate behavior before setup.
Create from GitHub URL
Use a template URL when the source already lives in GitHub and you want the fastest browser-first import.
Import infrastructure as code
Upload a single ARM template or a nested ARM workspace when you want pre-deployment review.
Run your first reports
Turn the created project into cost and architecture reports you can inspect or share.
Before you start
- Sign in to CloudEval AI.
- Complete onboarding so the product can personalize the workspace.
- Have one of the following ready:
- Azure service principal credentials
- ARM template or Bicep-generated ARM JSON
- IaC workspace with
.cloudeval/config.yamlwhen the source has linked or nested templates
Recommended sequence
- Try the public sample if you want to inspect CloudEval output before connecting Azure or uploading source.
- Create a project from a GitHub URL if the template already lives in GitHub.
- Connect an Azure environment if you want Cloud sync from deployed resources.
- Import an ARM or Bicep template if you want an IaC-first path from a single file, local workspace, or template URL.
- Use the CLI if you want a terminal-first workflow.
- Run your first reports.
Which path should most teams start with?
If you are evaluating CloudEval for the first time, the single-template path is usually faster because it avoids credential setup. If your source has nested or linked templates, use the IaC workspace path with.cloudeval/config.yaml. If you need current-state topology and subscription data, start with Cloud sync instead. If you already know you need JSON output or shell automation, start with the CLI page first.
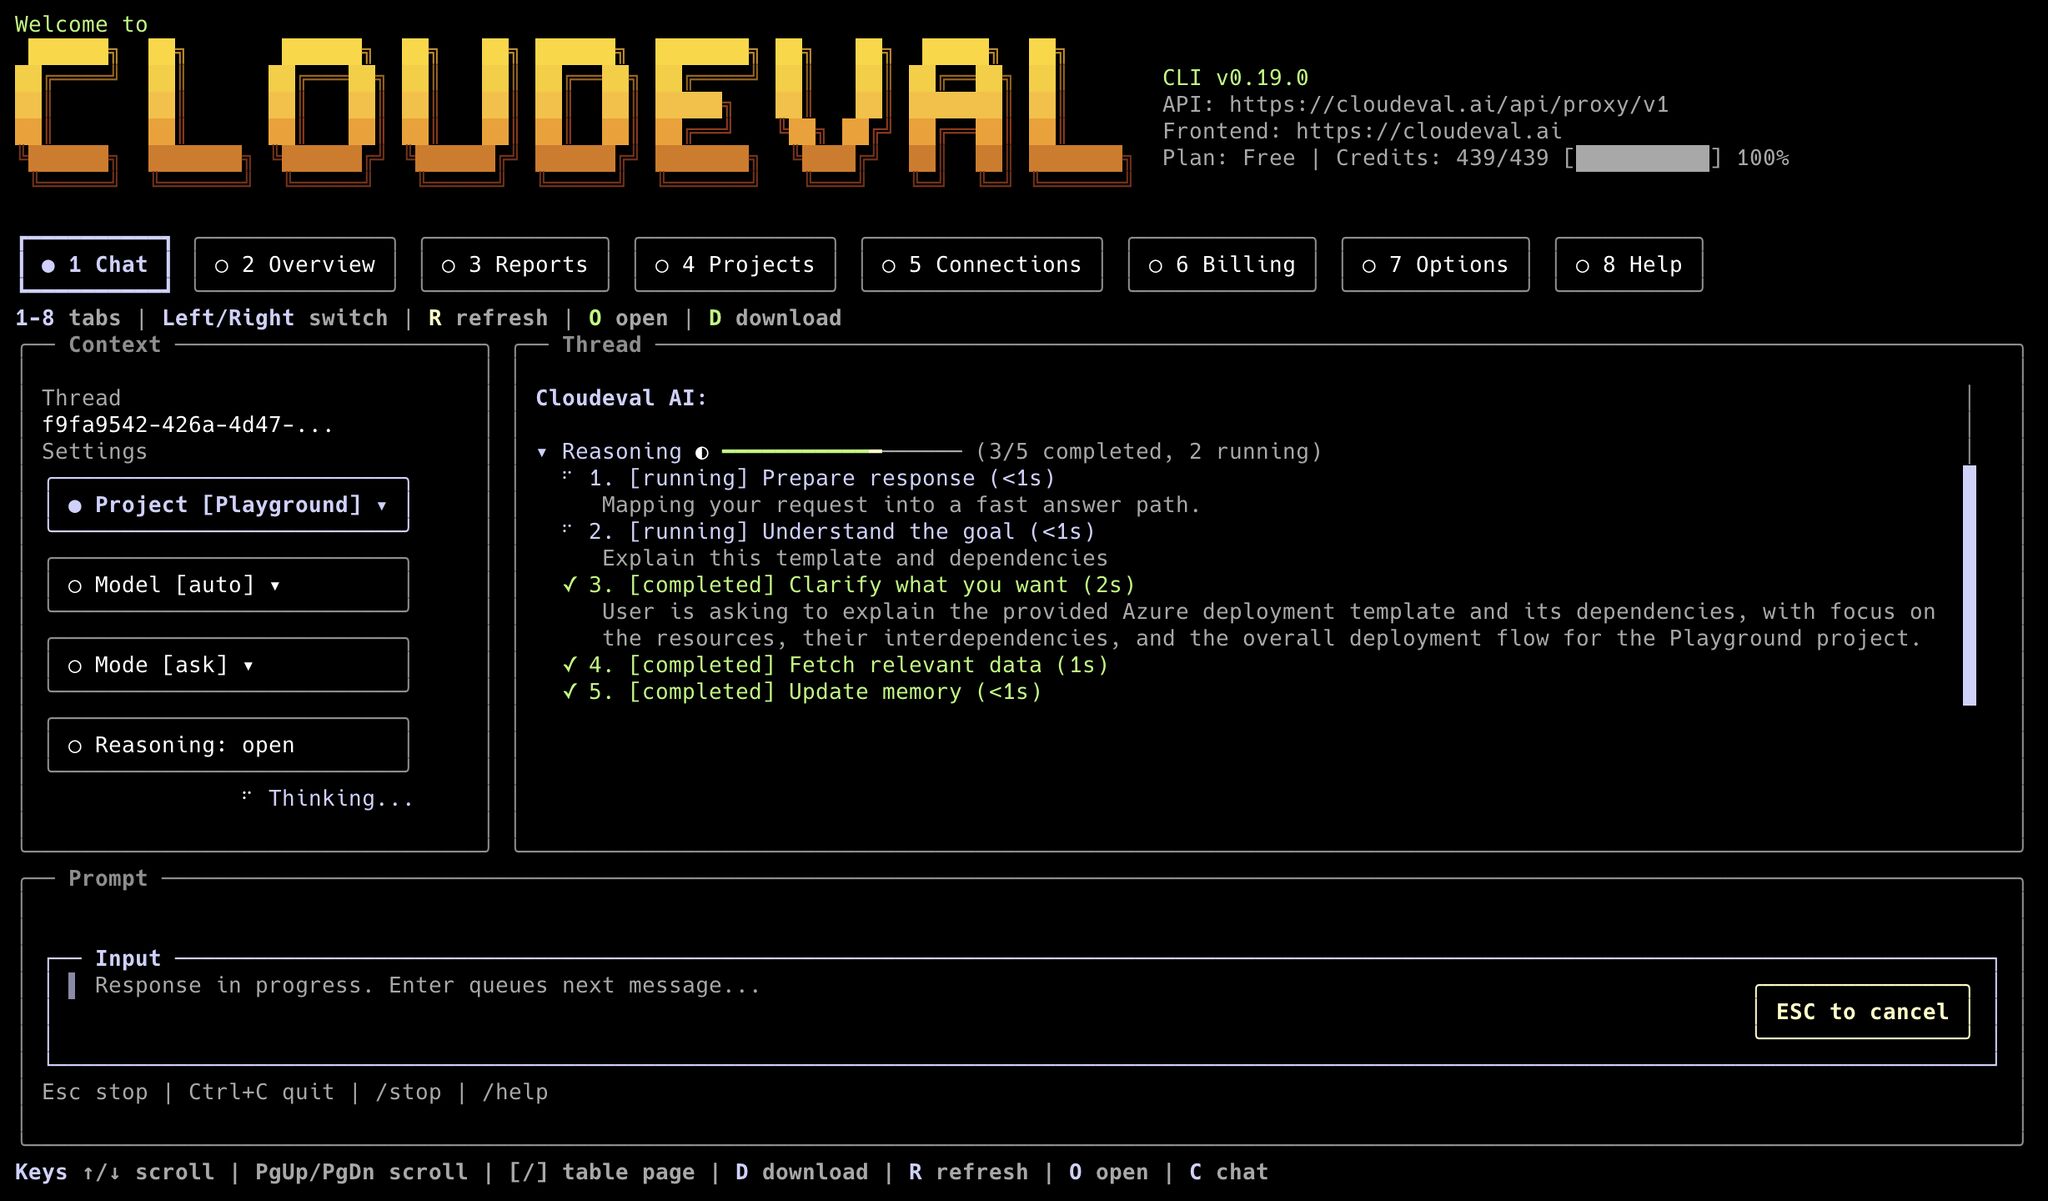
The terminal UI gives CLI-first users chat, project context, reports, and billing state in a keyboard-first workspace.